今天要來練習怎麼在iOS 的世界裡放Google ADs賺廣告費。下面這二篇Google寫文章寫的滿簡單的,照著做一下子就完成了:
- https://firebase.google.com/docs/admob/ios/quick-start
- https://developers.google.com/mobile-ads-sdk/docs/admob/ios/quick-start?hl=zh-tw
教學文章裡建議我們安裝CocoaPods, 安裝方法:
$ sudo gem install cocoapods好像一行指令就結束了。
接下來去 Admob 建立一個 Project, 不到一分鐘就建立完了,比我打字還快!
接下來要加入 Google Adsense
建立 Podfile
在與 BannerExample.xcodeproj 檔案相同的目錄中,建立一個檔案並將名稱設為 Podfile,其中包含以下項目:
source 'https://github.com/CocoaPods/Specs.git'

platform :ios, '7.0'

target 'BannerExample' do
 pod 'Google-Mobile-Ads-SDK', '~> 7.0'
end
Run pod update from the terminal.
執行完成後,關閉 BannerExample.xcodeproj 並開啟 BannerExample.xcworkspace。
標註成紅色,因為我開錯了,要開紅色這組。
發現無法Build, 有 Error, 所以對 BannerExample 專案按一下滑鼠右鍵,然後選取 [Add Files To “BannerExample”]。
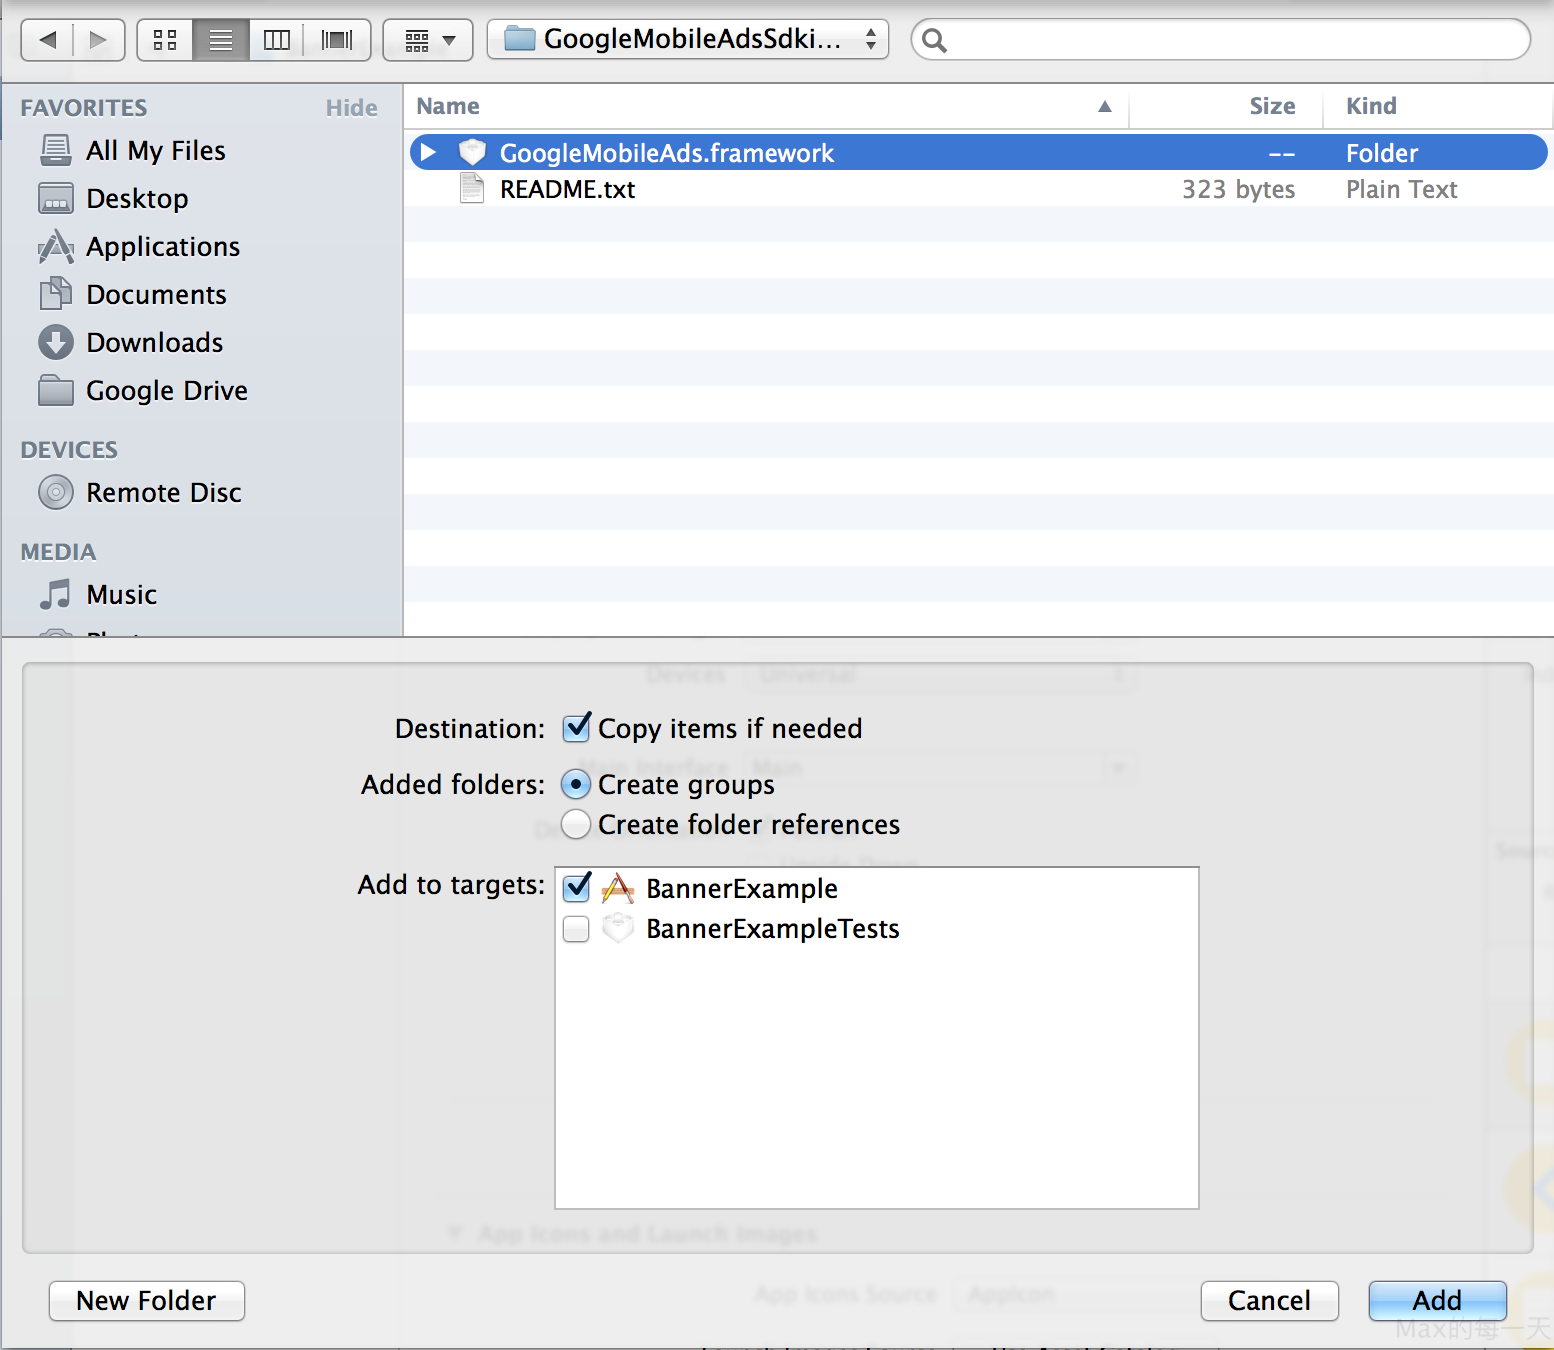
然後再手動加入 SDK 需要的其他架構,包括:
AdSupport
AudioToolbox
AVFoundation
CoreGraphics
CoreTelephony
EventKit
EventKitUI
MessageUI
StoreKit
SystemConfiguration
為什麼需要自己手動加入這些 framework, 因為我開啟錯檔案,要開啟 .xcworkspace.
首先,我們要來拉 UI ,在 Storyboard。
Your first banner request
Now that you have a project with the SDK referenced, it’s time to put banner ads into it.
A GADBannerView can be created from storyboard or from code. Since layouts are generally defined in storyboard, this guide shows the storyboard method.
Add a GADBannerView in storyboard
Click the Main.storyboard tab. In the bottom-right corner, select a UIView element and drag it into your view controller. Then in the Custom Class section in the top-right corner, select the custom class GADBannerView as the Class for this view.
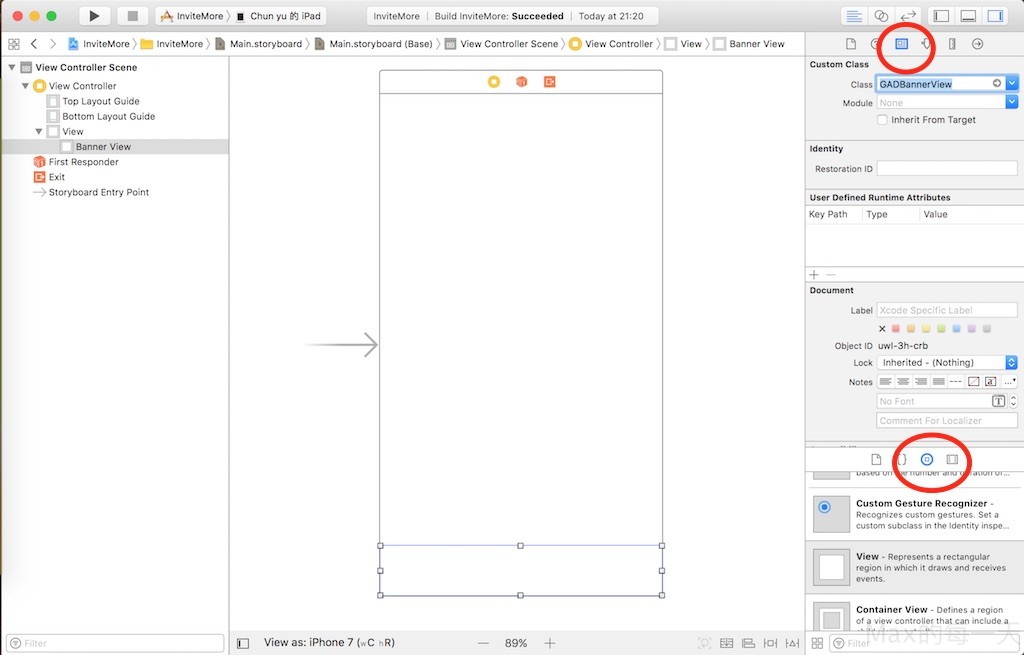
已經1年半沒寫iOS完全忘記怎麼插入View,紅色框框處是我找了一下終於找到的關鍵。
Add constraints on the GADBannerView
Set the following constraints on the GADBannerView:
- Locate it at the bottom of the screen.
- Set the size of the view to
320wide by50high. - Center it.
Make sure the view is selected, and click the Pin icon at the bottom of the screen. Add a Spacing to nearest neighbor constraint on the bottom of the banner with the value of 0. This pins the view to the bottom of the screen.
Also check the width and height constraints, and set the values to 320 and 50, respectively, to set the size of the view.
為什麼這裡是 320 x 50 px, 請參考看看 Google Ads 官方說明:
橫幅廣告大小
https://developers.google.com/mobile-ads-sdk/docs/admob/ios/banner?hl=zh-tw
其實,高度應該設90 或 100, 效果會比較好,預設的「智慧型橫幅廣告」可以套用到廣告比較多。
Adding a reference to your GADBannerView in code
The GADBannerView needs a reference in code to load ads into it. Open up the Assistant Editor by navigating to View > Assistant Editor > Show Assistant Editor. Make sure the ViewController.h file is showing in the Assistant Editor (the right pane of the screen). Next, holding the control key, click the GADBannerView (in the center pane), and drag your cursor over to ViewController.h (as indicated by the blue line going from the center pane to the right pane).
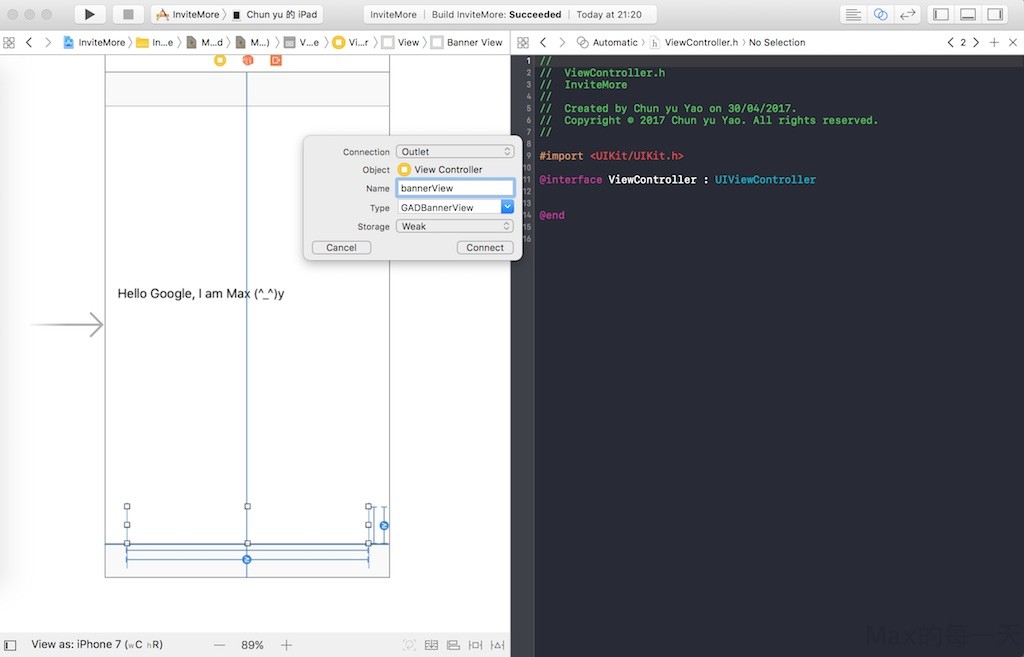
只記得要按Ctrl 去拉,但切到這個畫面預設是在 ViewController.m 拉半天都無法 Connect,原來是要再切到 ViewController.h.
似乎可以拉到 .m 檔案。
To resolve a compilation error, add @import GoogleMobileAds to ViewController.h or import GoogleMobileAds to ViewController.swift so the compiler knows that GADBannerView is a valid class.
Initialize the Google Mobile Ads SDK
At app launch, initialize the Google Mobile Ads SDK by calling configureWithApplicationID: in the application:didFinishLaunchingWithOptions:method of AppDelegate.m or AppDelegate.swift.
- (BOOL)application:(UIApplication *)application
    didFinishLaunchingWithOptions:(NSDictionary *)launchOptions {

  // Use Firebase library to configure APIs
  [FIRApp configure];
  [GADMobileAds configureWithApplicationID:@"ca-app-pub-3940256099942544~1458002511"];
  return YES;
}
這裡用的是Google Ads 給的第1組序號「應用程式 ID」,在 ViewController 裡用的是另一組「廣告單元 ID」。
修改 ViewController.m
- (void)viewDidLoad {
  [super viewDidLoad];

  NSLog(@"Google Mobile Ads SDK version: %@", [GADRequest sdkVersion]);
  self.bannerView.adUnitID = @"ca-app-pub-3940256099942544/2934735716";
  self.bannerView.rootViewController = self;
  [self.bannerView loadRequest:[GADRequest request]];
}
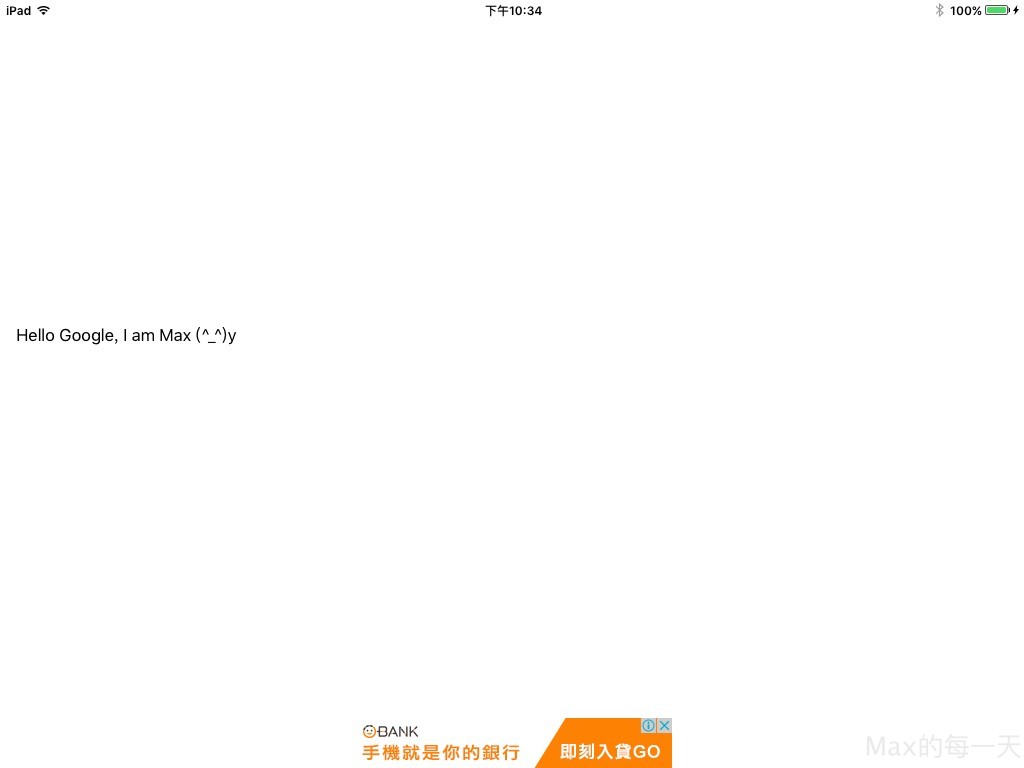
加好之後,按 Run 就成功了,廣告有出來。