在古時候,使用了 cardslib 寫的程式,在2018年底Android Studio 說將不支援,所以要換一個新的寫法,改用 RecylerView + CardView。
先用Gradle 引用:
 implementation 'com.android.support:recyclerview-v7:27.1.1'
 implementation 'com.android.support:cardview-v7:27.1.1'
activity_main.xml
<?xml version="1.0" encoding="utf-8"?>
<android.support.constraint.ConstraintLayout xmlns:android="http://schemas.android.com/apk/res/android"
xmlns:app="http://schemas.android.com/apk/res-auto"
xmlns:tools="http://schemas.android.com/tools"
android:layout_width="match_parent"
android:layout_height="match_parent"
tools:context=".MainActivity">

<android.support.v7.widget.RecyclerView
android:id="@+id/list_view"
android:layout_width="match_parent"
android:layout_height="match_parent" />

</android.support.constraint.ConstraintLayout>
MainActivity.java
public class MainActivity extends AppCompatActivity {

@Override
protected void onCreate(Bundle savedInstanceState) {
super.onCreate(savedInstanceState);
setContentView(R.layout.activity_main);

ArrayList<String> myDataset = new ArrayList<>();
for(int i = 0; i < 100; i++){
myDataset.add(i + "");
}
MyAdapter myAdapter = new MyAdapter(myDataset);
RecyclerView mList = (RecyclerView) findViewById(R.id.list_view);
final LinearLayoutManager layoutManager = new LinearLayoutManager(this);
layoutManager.setOrientation(LinearLayoutManager.VERTICAL);
mList.setLayoutManager(layoutManager);
mList.setAdapter(myAdapter);
}

public class MyAdapter extends RecyclerView.Adapter<MyAdapter.ViewHolder> {
private List<String> mData;

public class ViewHolder extends RecyclerView.ViewHolder {
private TextView mTextView;
private ViewHolder(View v) {
    super(v);
 mTextView = (TextView) v.findViewById(R.id.info_text);
}
}

public MyAdapter(List<String> data) {
    mData = data;
}

@Override
public MyAdapter.ViewHolder onCreateViewHolder(ViewGroup parent, int viewType) {
    View v = LayoutInflater.from(parent.getContext()).inflate(R.layout.item, parent, false);
    ViewHolder vh = new ViewHolder(v);
    return vh;
}

@Override
public void onBindViewHolder(ViewHolder holder, int position) {
holder.mTextView.setText(mData.get(position));
}

@Override
public int getItemCount() {
    return mData.size();
}
}
}
item.xml
<?xml version="1.0" encoding="utf-8"?>
<android.support.v7.widget.CardView
xmlns:android="http://schemas.android.com/apk/res/android"
xmlns:card_view="http://schemas.android.com/apk/res-auto"
android:id="@+id/card_view"
android:layout_gravity="center"
android:layout_width="match_parent"
android:layout_height="wrap_content"
card_view:cardCornerRadius="4dp"
android:layout_margin="5dp">

<LinearLayout
android:layout_width="match_parent"
android:layout_height="wrap_content"
android:orientation="vertical">

<ImageView
android:id="@+id/img"
android:layout_width="wrap_content"
android:layout_height="wrap_content"
android:src="@mipmap/ic_launcher_round"
android:layout_margin="5dp"
android:layout_gravity="center"/>

<TextView
android:id="@+id/info_text"
android:layout_width="match_parent"
android:layout_height="match_parent"
android:textSize="20sp"
android:layout_margin="4dp"
android:gravity="center"
/>
</LinearLayout>
</android.support.v7.widget.CardView>
CardView屬性介紹
-
app:cardBackgroundColor:設定卡片的背景色
-
app:cardCornerRadius:設定卡片圓角的大小
-
app:cardElevation:設置卡片陰影的大小
-
app:cardMaxElevation:設置卡片最大的陰影大小
-
app:cardPreventCornerOverlap:在API v20和之前的版本添加內邊距到CardView,以防止卡內容和圓角之間的交集。
-
app:cardUseCompatPadding:在API v21 +中添加內邊距與以前版本有相同的測量。
-
app:contentPadding:添加左、上、右、下的內邊距
-
app:contentPaddingBottom:添加下方的內邊距
-
app:contentPaddingLeft:添加左邊的內邊距
-
app:contentPaddingRight:添加右邊的內邊距
-
app:contentPaddingTop:添加上方的內邊距
波紋點擊效果
-
android:clickable="true"
-
android:foreground="?android:attr/selectableItemBackground"
handling RecyclerView OnClickListener in Activity/Fragment
範例:
https://gist.github.com/grantland/cd70814fe4ac369e3e92
public class ViewHolder extends RecyclerView.ViewHolder implements View.OnClickListener{

public ViewHolder(View view) {
super(view);
view.setOnClickListener(this);
......
}
@Override public void onClick(View v){ Toast.makeText(context, "Clicked item at "+ getAdapterPosition(), Toast.LENGTH_LONG).show(); } }
附註:
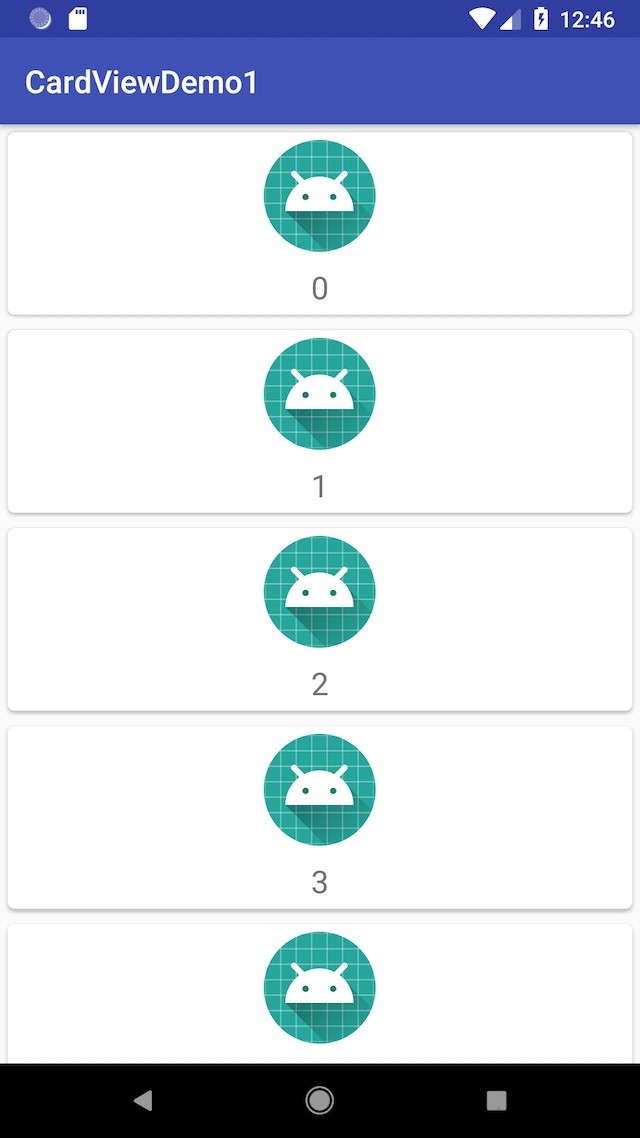
執行畫面: