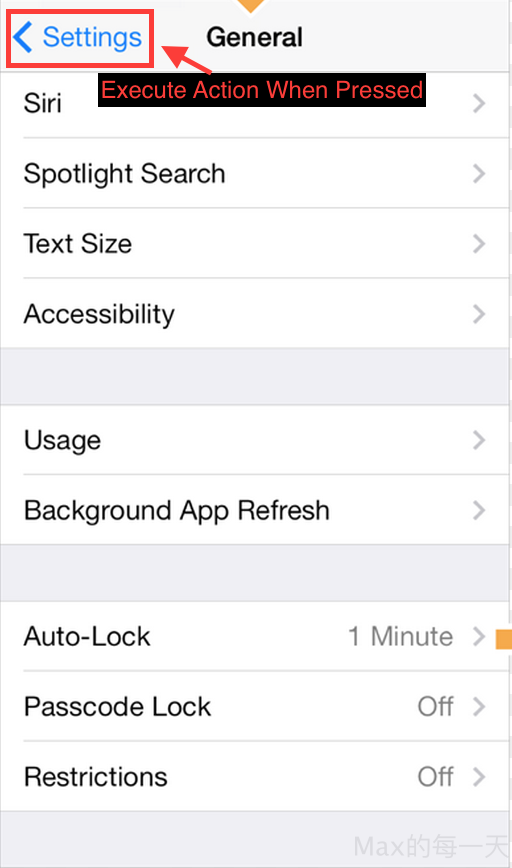
滿神奇的,完全不用去拉 UI, 就這幾行程式,navigation bar 上面的按鈕就出來了,也可以bind 到事件。
我用的程式碼:
 UIImage *addImage = [UIImage imageNamed:@"plus2.png"];
 UIBarButtonItem *newShareButton = [[UIBarButtonItem alloc] initWithImage:addImage style:UIBarButtonItemStylePlain target:self action:@selector(shareLineID)];
 self.navigationItem.rightBarButtonItem = newShareButton;

右上角的 button 範例:
- (void) viewDidLoad {
    [super viewDidLoad];
    self.navigationItem.hidesBackButton = YES;
    UIBarButtonItem *newBackButton = [[UIBarButtonItem alloc] initWithTitle:@"Back" style:UIBarButtonItemStyleBordered target:self action:@selector(back:)];
    self.navigationItem.leftBarButtonItem = newBackButton;
}

- (void) back:(UIBarButtonItem *)sender {
    // Perform your custom actions
    // ...
    // Go back to the previous ViewController
    [self.navigationController popViewControllerAnimated:YES];
}
swift 版本:
import UIKit

class ViewController: UIViewController {

    override func viewDidLoad() {
        super.viewDidLoad()
        // Do any additional setup after loading the view, typically from a nib.
        let backItem = UIBarButtonItem(title: "Back", style: .Plain, target: self, action: "tapToBack")
        self.navigationItem.leftBarButtonItem = backItem
    }

    func tapToBack() {
        var times = 0
        times++
        NSLog("tap times:%d", times)
    }

    override func didReceiveMemoryWarning() {
        super.didReceiveMemoryWarning()
        // Dispose of any resources that can be recreated.
    }

}