最近想學如何操作 colab, 主因是用目前家裡的筆電,GPU似乎太弱,造成學習超級慢。網路上相關免費的教學文章很多,我是跟隨這一篇來操作,感覺很有成就感。😃
https://www.cc.ntu.edu.tw/chinese/epaper/0052/20200320_5207.html
首先是到 colab 的網站:
https://colab.research.google.com/
在 google driver 裡點 “create”,再貼上這段程式碼,按三角形的 Run 就完成了。
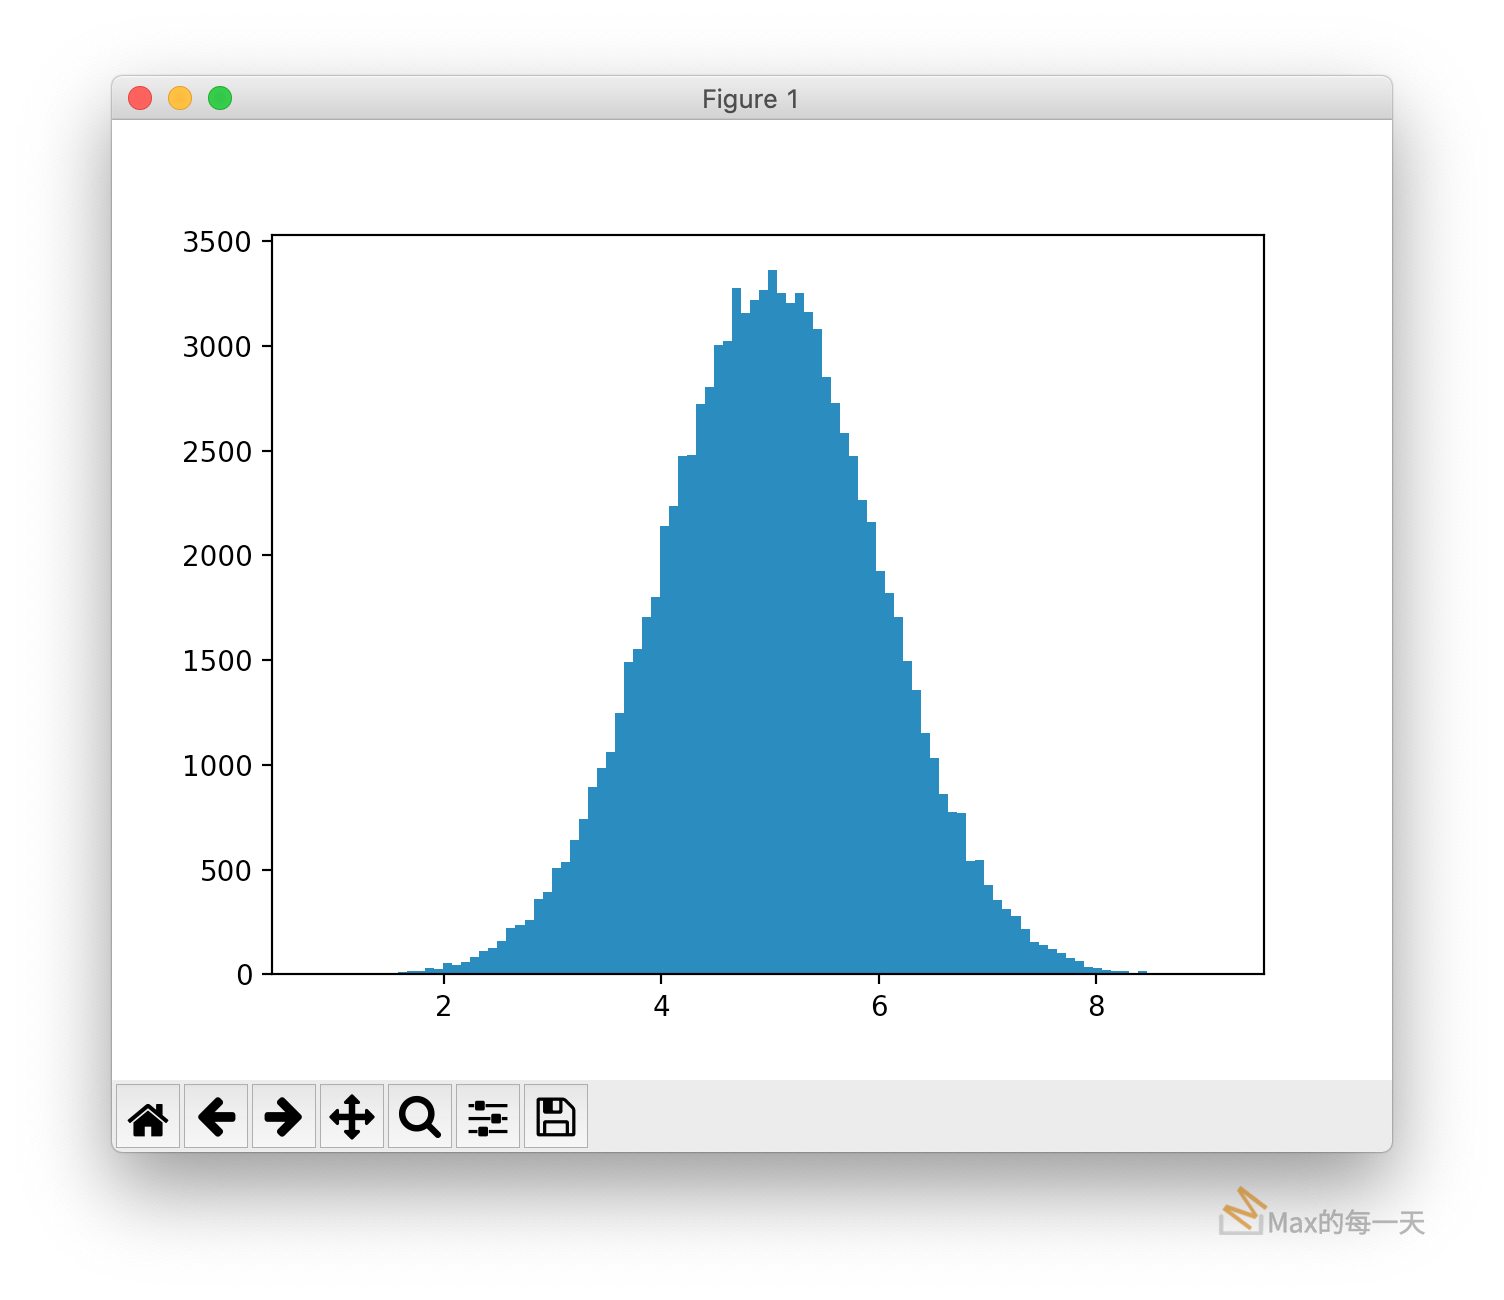
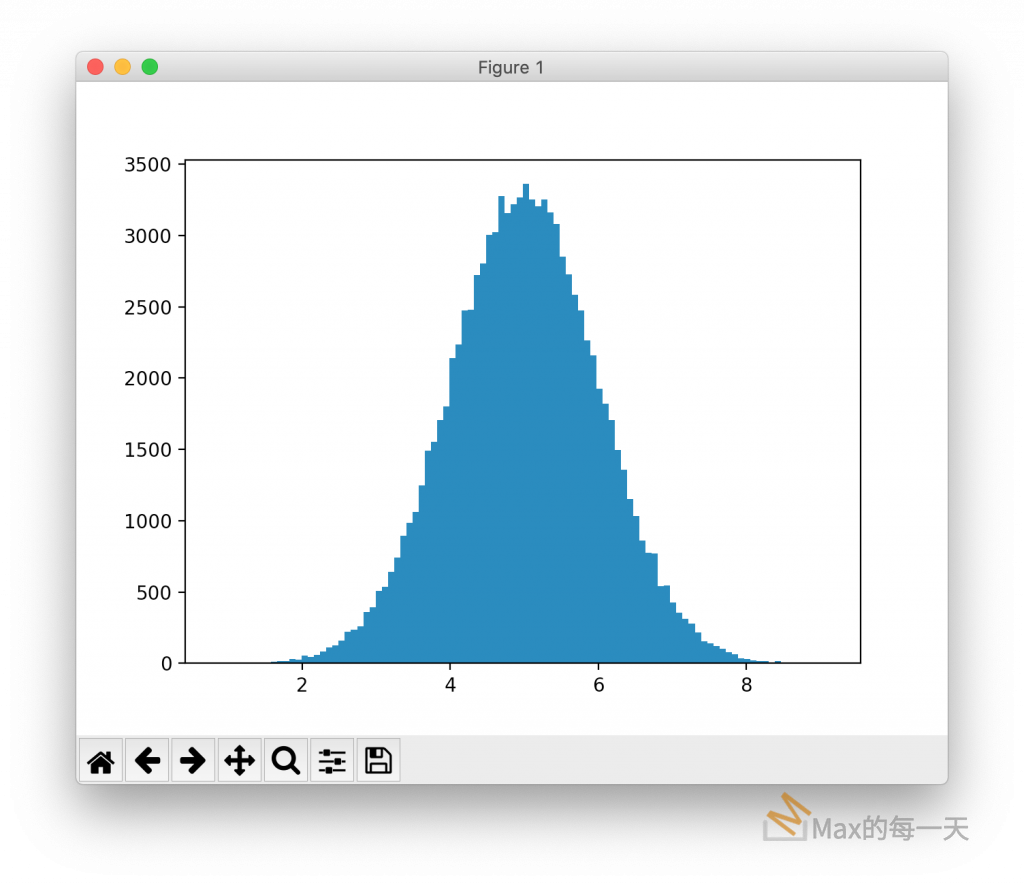
#/usr/bin/env python3
import numpy
import matplotlib.pyplot as plt
x = numpy.random.normal(5.0, 1.0, 100000)
plt.hist(x, 100)
plt.show()
在電腦裡執行的結果與在網頁裡一樣:
只是電腦可能需要先透過下面這行安裝 matplotlib:
pip3 install matplotlib
Mounting Google Drive in your VM
為了要方便修改 colab 上的檔案,所以在電腦裡下載 google drive 的用戶端程式:
https://www.google.com/intl/zh-TW/drive/download/
點選左邊的「程式碼片段」(Code snippets),過濾用關鍵字下 mounting 就可以插入存取 google drive 的範例:
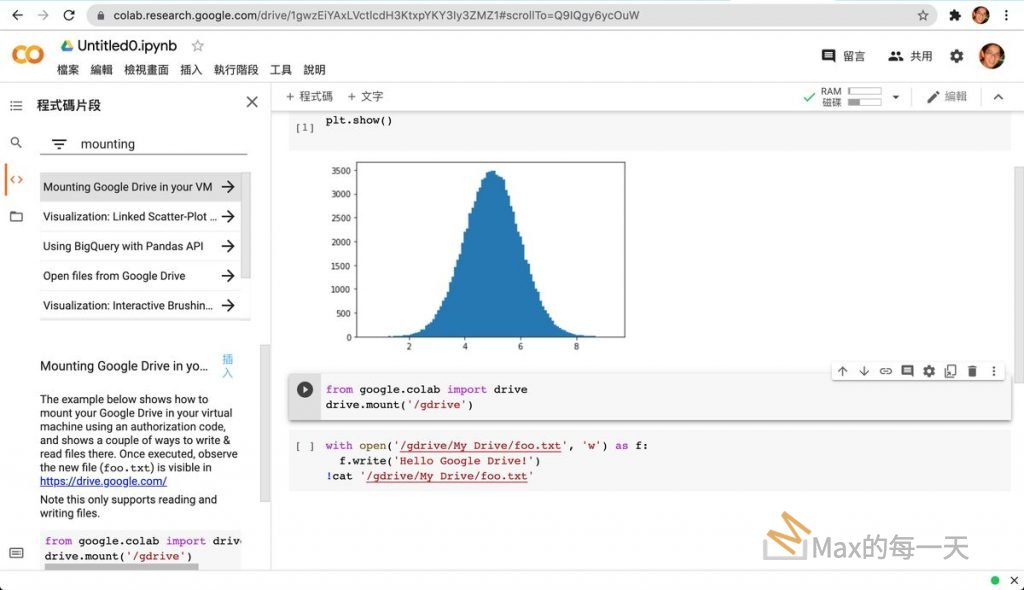
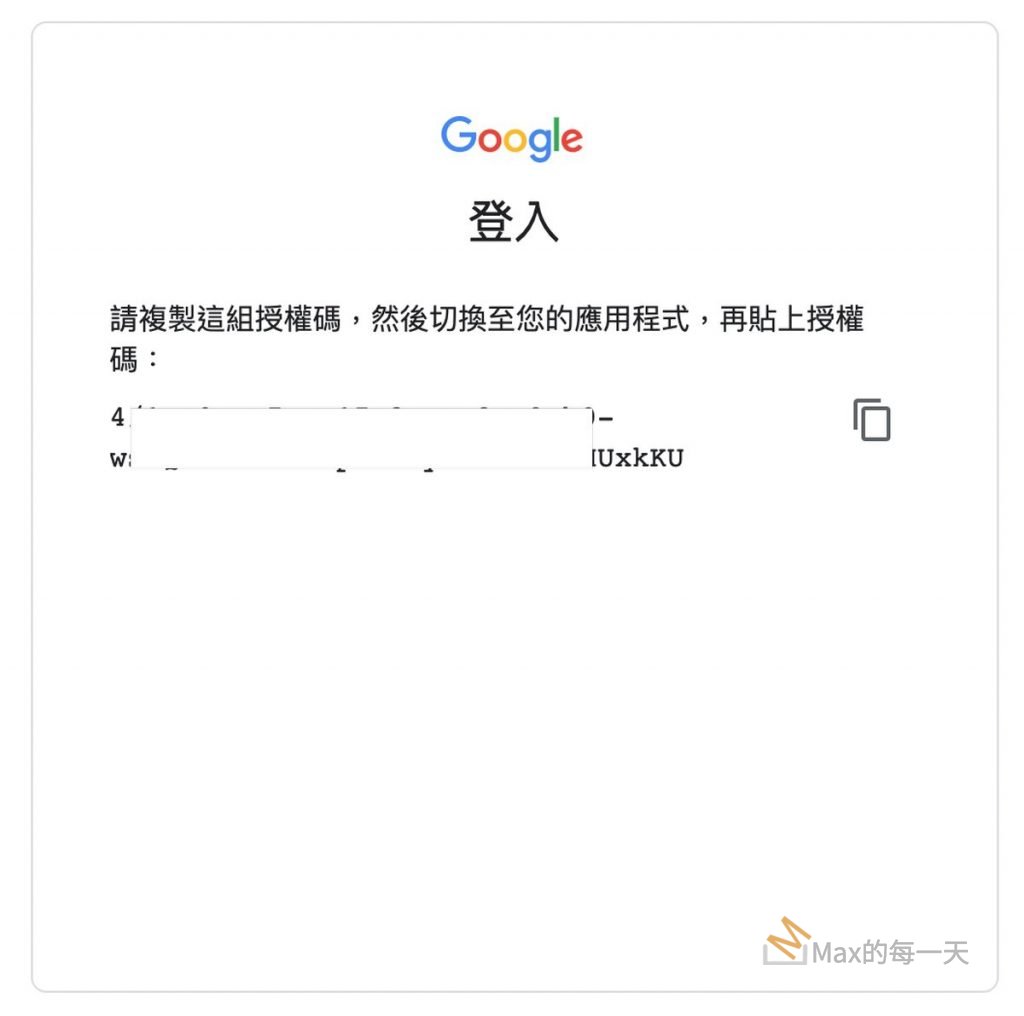
按下被插入的和式碼片段的 Run 按鈕,會要求授權,並取得一段的 token 要複製起來。
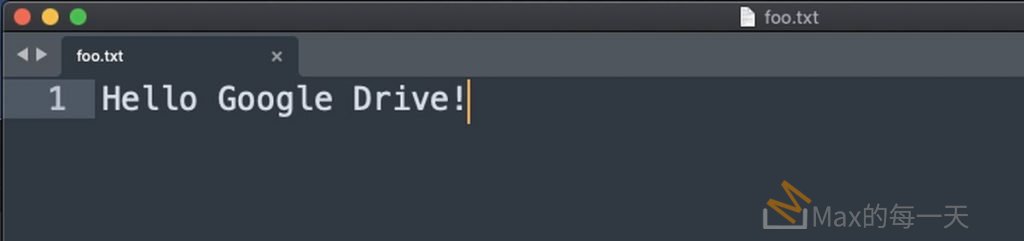
貼回原本的程式碼,貼上之後按下 Enter 就成功了。再按下一段的程式碼之後,Google Drive 的根目錄下,就多出一個 foo.txt 檔案,也會同步修改到電腦版的Google Drive 同步的資料夾: